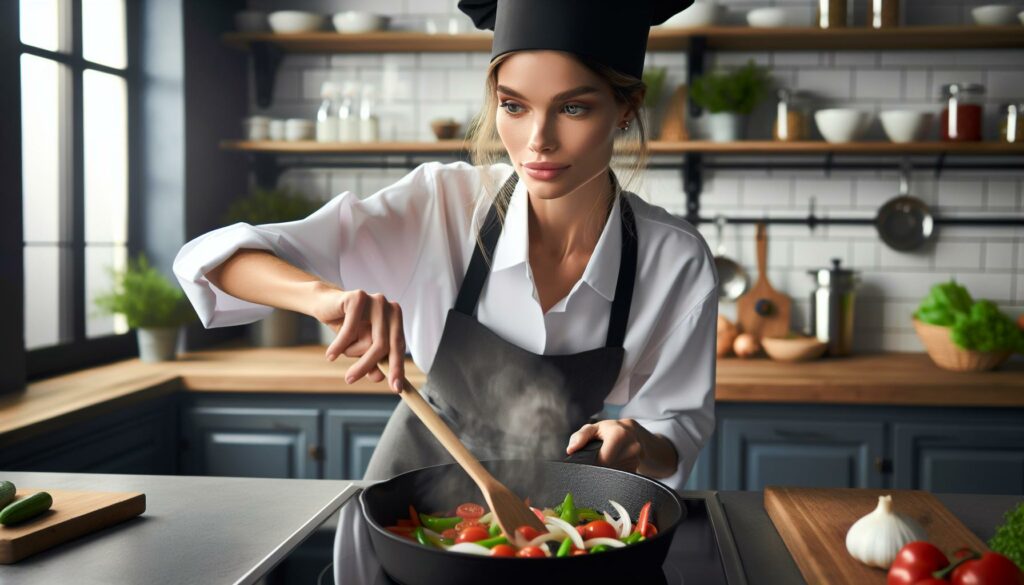
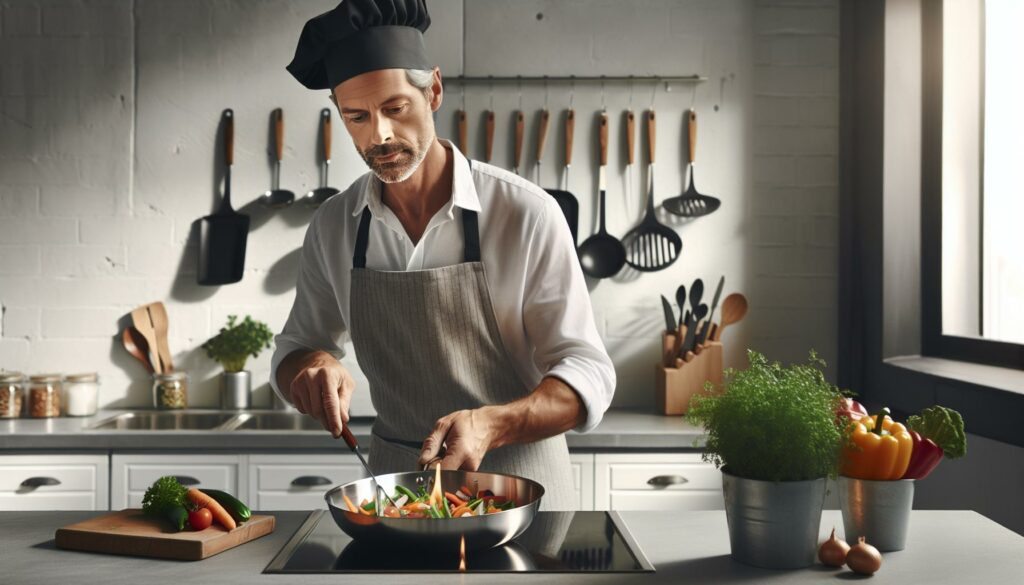
Ever wondered why some chefs make cooking look like a mesmerizing dance of flames and sizzles? It’s all about mastering dry cooking techniques – the culinary world’s equivalent of turning up the heat without adding moisture. From the perfect golden-brown sear to that irresistible crispy chicken skin these methods transform raw ingredients into flavor-packed masterpieces.
Dry cooking techniques aren’t just fancy chef terms to impress dinner guests. They’re fundamental skills that bring out the best in ingredients through the magic of high heat and careful timing. Whether it’s roasting baking broiling or sautéing these methods create those mouth-watering caramelized flavors and crispy textures that make food absolutely irresistible. Let’s dive into the sizzling world of waterless cooking where temperature control and timing reign supreme.
Dry Cooking Techniques
Dry heat cooking methods rely on hot air or direct contact with heated surfaces to prepare food. These techniques create distinct flavors through browning reactions while maintaining optimal moisture levels inside ingredients.
Direct Heat vs Indirect Heat
Direct heat cooking exposes ingredients to immediate heat sources, like an open flame or heated surface. A grill set at 450°F sears steaks directly over charcoal, creating distinctive grill marks. Indirect heat methods circulate hot air around food from a distance, such as in an oven at 350°F for roasting chicken. Here’s how they compare:
| Method | Temperature Range | Best For |
|---|---|---|
| Direct Heat | 400-600°F | Steaks, burgers, vegetables |
| Indirect Heat | 250-400°F | Whole poultry, roasts, baked goods |
- Creates texture variations: crispy exteriors with moist interiors
- Concentrates flavors through moisture reduction
- Preserves nutrients better than boiling or steaming
- Requires minimal added fats or oils
- Forms appealing color development through browning
- Allows cooking multiple items simultaneously
Roasting and Baking Techniques
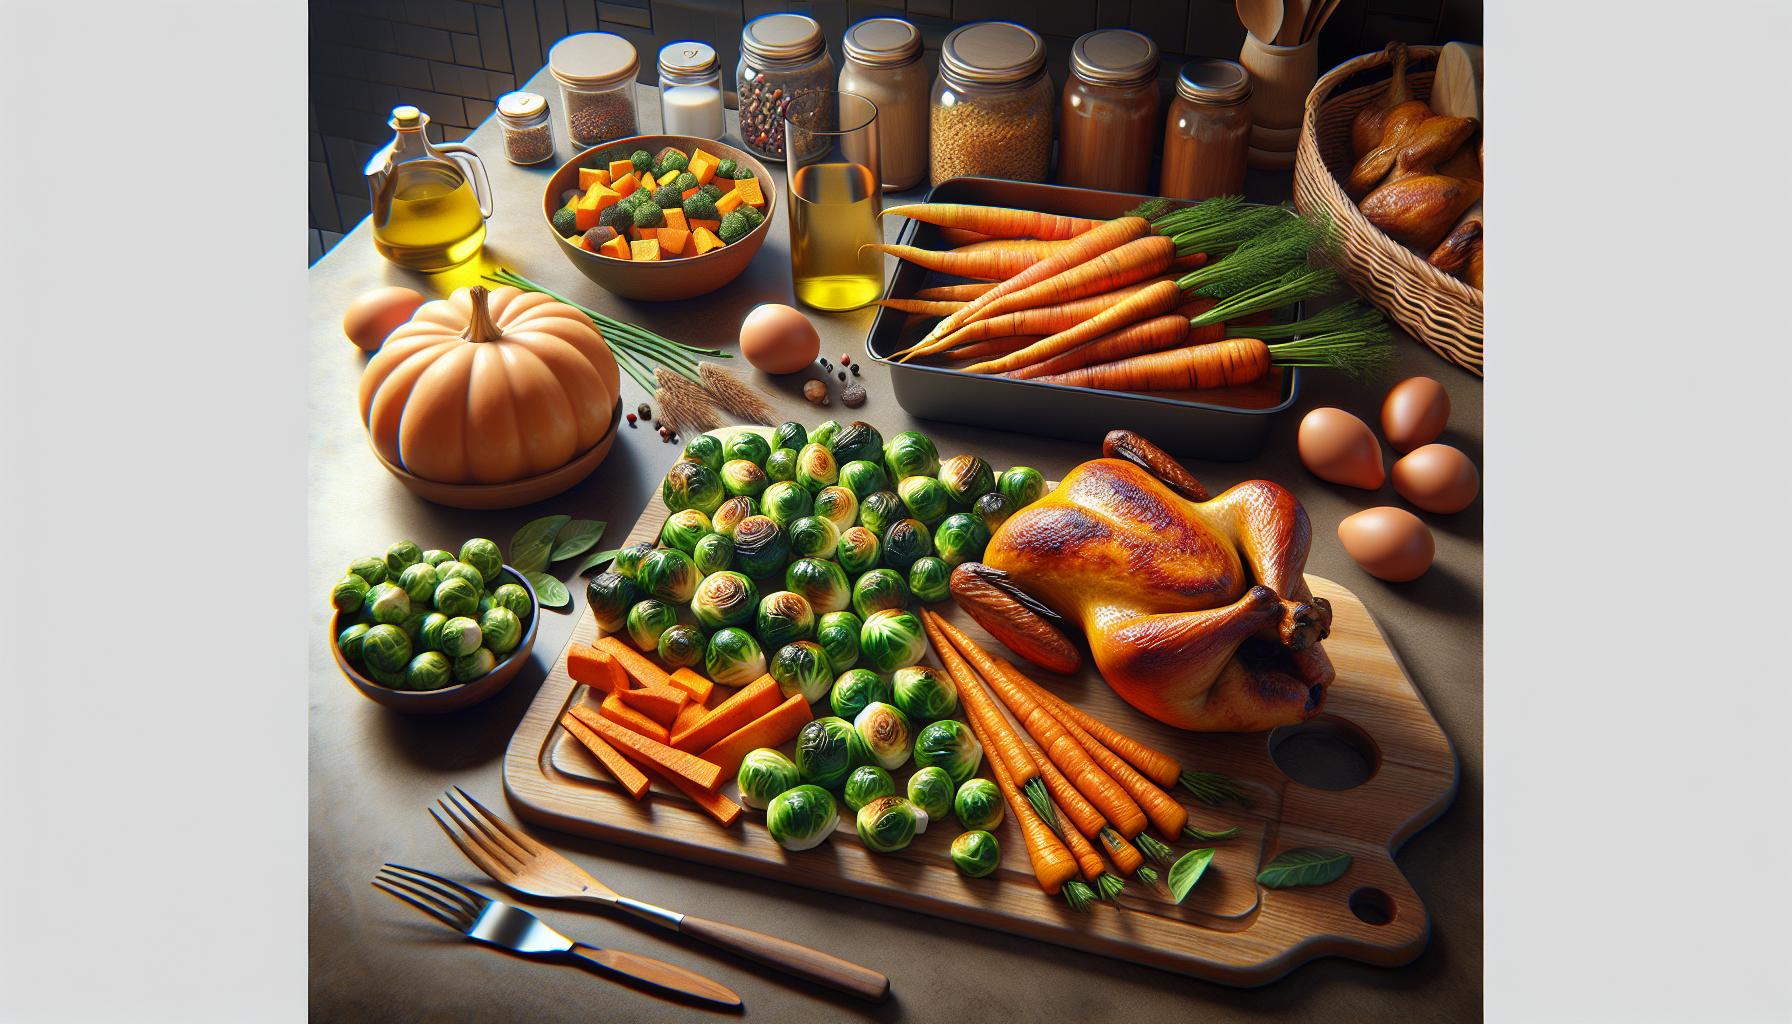
Roasting and Dry Cooking Techniques transform raw ingredients into flavorful dishes through controlled heat exposure in an enclosed space. These dry-heat methods create caramelization while maintaining food’s natural moisture content.
Temperature Control Tips
Monitoring oven temperature accuracy ensures consistent results when roasting or baking. An oven thermometer placed in the center rack provides precise readings, as built-in thermostats often vary by 25-50 degrees. Preheating takes 15-20 minutes for optimal temperature distribution throughout the oven cavity. Large cuts of meat benefit from starting at high heat (400-450°F) for 15 minutes to develop a crust, followed by reducing to 325-350°F for even cooking. Regular temperature checks at specific intervals prevent overcooking:
| Food Type | Starting Temp (°F) | Cooking Temp (°F) | Check Interval |
|---|---|---|---|
| Red Meat | 450 | 325 | 20 minutes |
| Poultry | 400 | 350 | 15 minutes |
| Fish | 400 | 375 | 10 minutes |
- Winter squash varieties: butternut acorn delicata
- Root vegetables: carrots parsnips sweet potatoes
- Cruciferous vegetables: broccoli cauliflower Brussels sprouts
- Stone fruits: peaches plums apricots
- Tree nuts: almonds pecans walnuts
Broiling and Grilling Methods
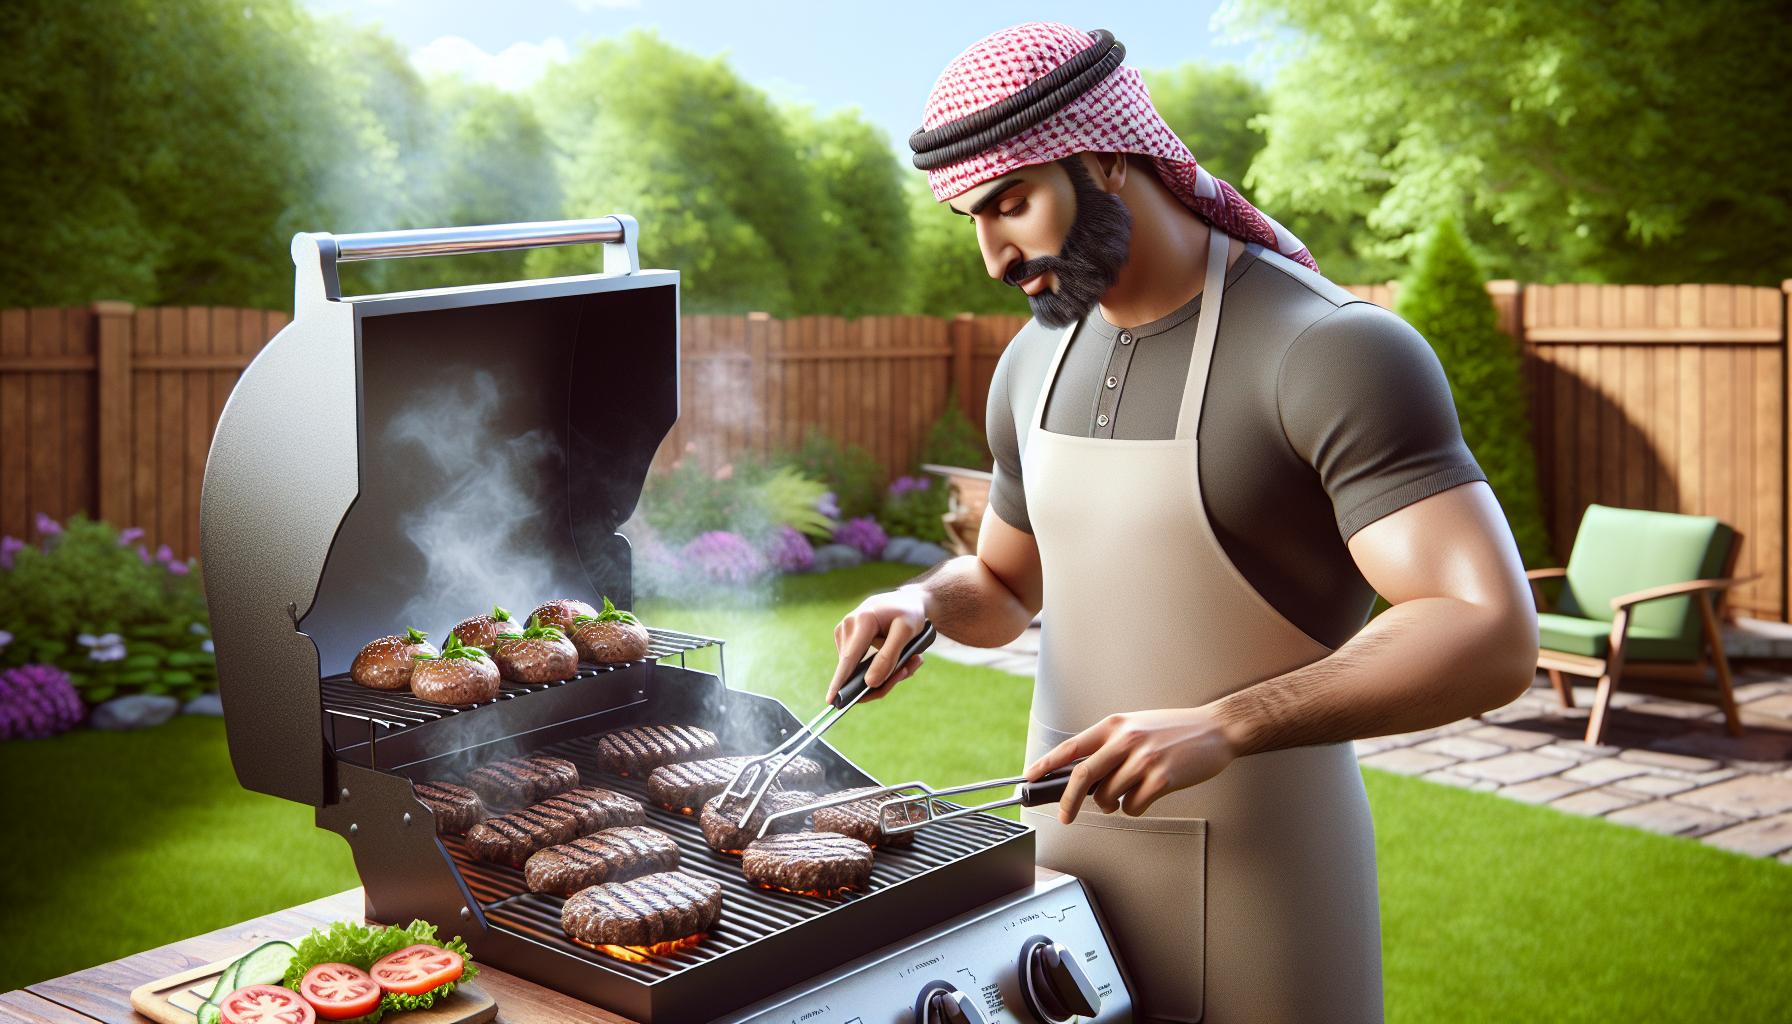
Broiling and Dry Cooking Techniques create distinct flavors through direct exposure to intense heat sources. These methods sear food surfaces while maintaining interior moisture, producing appealing char marks and caramelization.
Indoor vs Outdoor Grilling
Indoor broiling uses overhead heating elements in ovens, reaching temperatures up to 550°F. Electric broilers provide 3-4 inches of cooking space beneath the element, while gas broilers offer 5-6 inches of adjustable rack positions. Outdoor grilling utilizes charcoal or gas flames beneath the cooking surface at temperatures between 400-600°F.
Temperature Control Comparison:
| Method | Temperature Range | Heat Source Position |
|---|---|---|
| Broiling | 500-550°F | Top/Overhead |
| Gas Grilling | 400-600°F | Bottom |
| Charcoal Grilling | 350-650°F | Bottom |
Safety Precautions
Fire safety equipment includes heat resistant gloves, tongs with 16-inch handles, fire extinguishers rated for grease fires. Proper ventilation removes smoke through hood systems or outdoor airflow. A meat thermometer confirms safe internal temperatures: 165°F for poultry, 145°F for fish, 160°F for ground meats.
- Fire extinguisher rated for Class B fires
- Heat resistant gloves rated to 500°F
- Long handled stainless steel tools
- Instant read digital thermometer
- Smoke detector with fresh batteries
Pan-Frying and Sautéing Basics
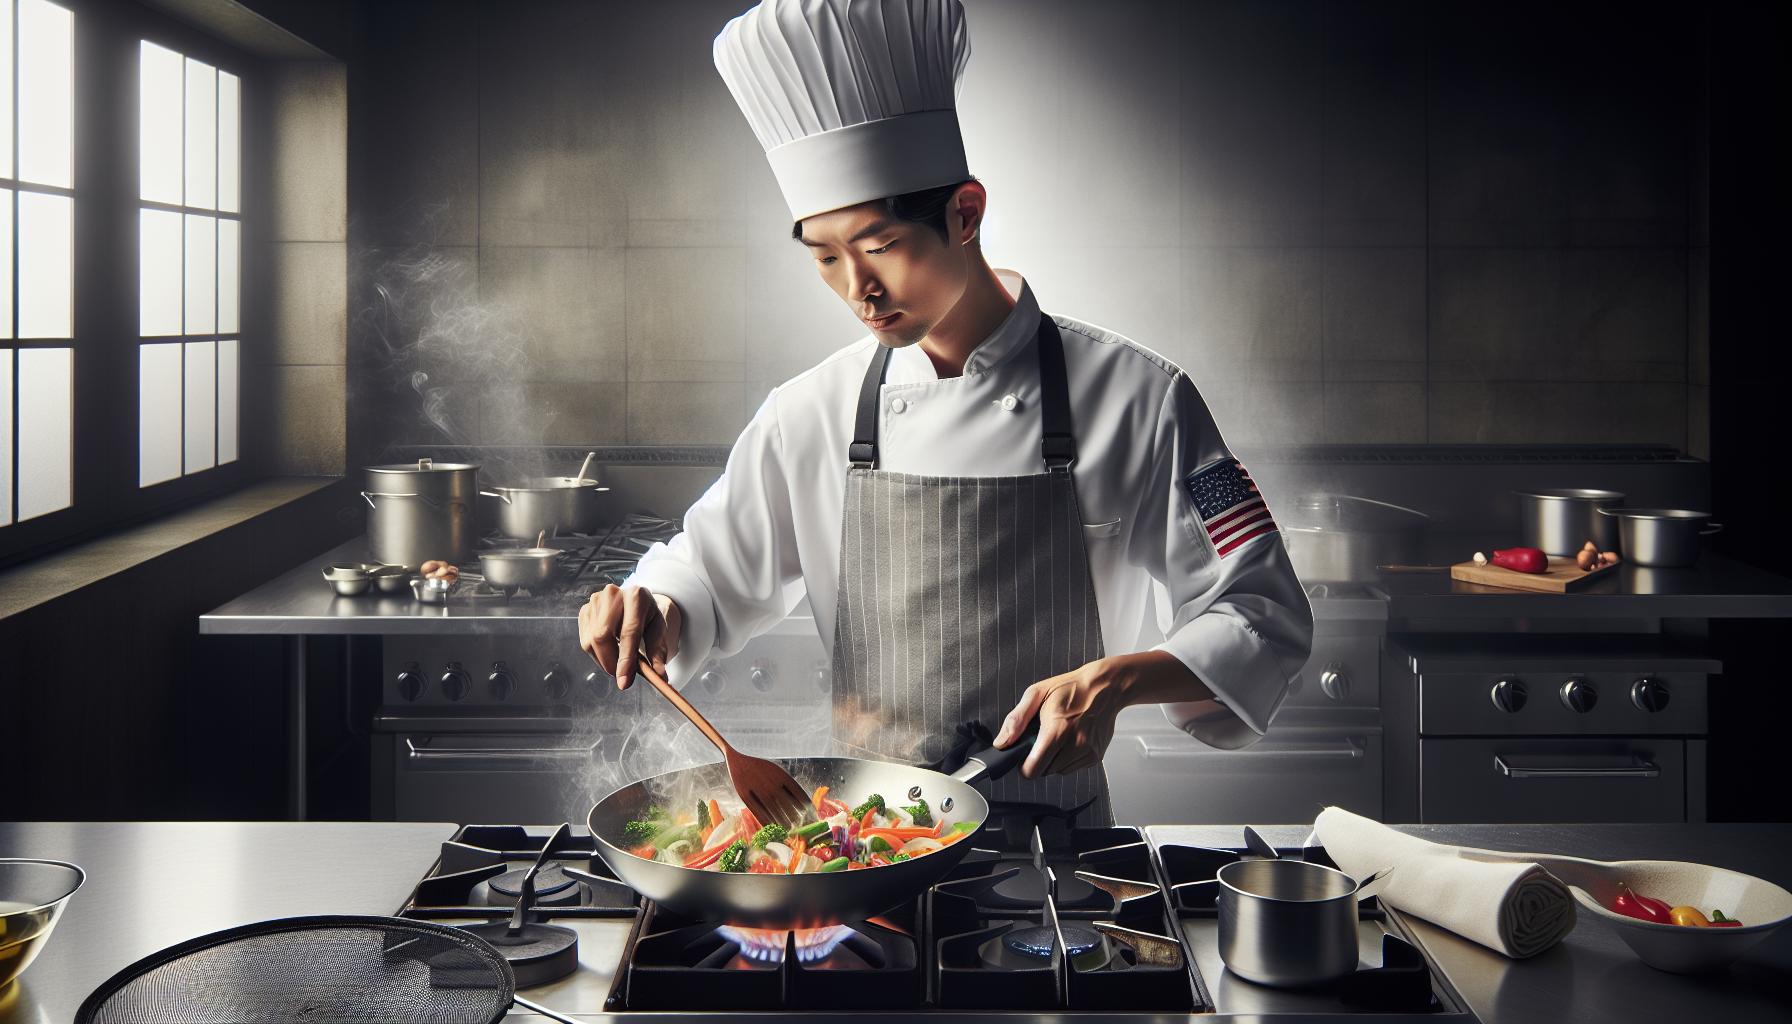
Dry Cooking Techniques and sautéing transform ingredients through direct heat contact with a hot cooking surface. These techniques create golden-brown exteriors while maintaining internal moisture through quick cooking times.
Essential Equipment
- Heavy-bottomed stainless steel or cast iron pans distribute heat evenly across cooking surfaces
- Metal spatulas or wooden spoons for flipping ingredients without scratching pan surfaces
- Kitchen tongs provide precise control when turning meats or vegetables
- Oil thermometers measure surface temperatures for optimal cooking ranges
- Spider strainers remove excess oil from fried ingredients
- Heat-resistant silicone brush applies thin oil coatings evenly
- Splatter screens protect from hot oil while maintaining heat circulation
| Item | Recommended Size | Temperature Range |
|---|---|---|
| Sauté Pan | 10-12 inches | Up to 500°F |
| Cast Iron Skillet | 12-14 inches | Up to 700°F |
| Splatter Screen | 13-15 inches | Up to 350°F |
- Overcrowding pans reduces heat distribution causing ingredients to steam instead of brown
- Adding cold ingredients to hot oil creates temperature drops affecting cooking consistency
- Moving food too frequently prevents proper crust formation
- Using excessive oil amounts transforms pan-frying into deep frying
- Selecting wrong pan sizes for ingredient quantities affects cooking evenness
- Cooking at improper temperatures leads to burned exteriors or undercooked interiors
- Neglecting to pat ingredients dry before cooking creates excess moisture
- Adding seasoning at incorrect times affects flavor development
- Using non-heat resistant utensils damages pan surfaces
- Failing to preheat pans properly causes uneven cooking results
Air Frying and Modern Techniques
Modern air fryers use rapid air circulation technology to create crispy textures with minimal oil. These countertop appliances combine convection heating with precision temperature control to deliver consistent results.
Health Benefits
Air frying reduces caloric intake by 70-80% compared to traditional deep frying methods. A tablespoon of oil creates the same crispy exterior on foods that previously required 3 cups of oil for deep frying. Studies show air-fried foods retain more nutrients than deep-fried alternatives, particularly water-soluble vitamins like vitamin C B vitamins. The reduced oil absorption leads to lower amounts of harmful compounds like acrylamide in fried foods. Research indicates air frying decreases the formation of these compounds by up to 90% compared to conventional frying methods.
Recipe Adaptations
Dry Cooking Techniques recipes convert seamlessly to air fryer cooking with three key adjustments. Reducing cooking temperatures by 25°F compensates for the intense air circulation. Cutting cooking times by 20% prevents over-browning of foods. Brushing ingredients with oil rather than submerging them achieves optimal crispiness. Foods like chicken wings cook in 20 minutes at 375°F versus 30 minutes when deep fried. Vegetables like Brussels sprouts crisp perfectly in 12 minutes at 350°F with just 1 teaspoon of oil. Frozen foods require no oil preheating time simply adjusting the cooking duration by 3-5 minutes.
Dry cooking techniques represent the cornerstone of modern culinary excellence offering a perfect balance of flavor development and nutritional preservation. From traditional methods like roasting and broiling to innovative approaches like air frying these techniques continue to evolve while maintaining their fundamental principles.
Anyone can elevate their cooking skills by mastering these waterless cooking methods. The key lies in understanding temperature control timing and the unique properties of different ingredients. Whether it’s achieving the perfect sear on a steak or creating crispy vegetables these techniques open up endless possibilities in the kitchen.
With proper knowledge and practice home cooks can confidently explore the art of dry cooking to create restaurant-quality dishes right in their own kitchens.

